
When you have just learned a shiny new board game, especially one which is a bit longer and more complex than others, it’s nice to have some strategic direction. That’s what I aim to provide with my series Three Basic Tips – strategy advice for beginner and intermediate players that is easy to remember and yet gets you places.
War of the Ring (Roberto Di Meglio/Marco Maggi/Francesco Nepitello, Ares Games) is certainly a bit longer and complex than other games – 48 pages of rules and three hours of game length (if you’re inexperienced, rather more) demand a certain commitment from players. At the same time, with its beautiful presentation and its very popular setting it draws in people who are not necessarily heavy gamers to begin with. And that’s fine! As long as you have another person who knows the rules, the game plays pretty straightforward – roll your dice, choose one, conduct an action with it. In fact, I’ve used The War of the Ring as a gateway game to lure in an unsuspecting person into the wonderful world of board gaming!
As there is so much to discover in the game, your first plays should be fun no matter if you win or lose. Still, if you want to improve your chances of victory, here are three basic tips that help you out – both when playing the Free Peoples and the Shadow.
Sidenote: You can click on any of the pictures to enlarge – that might be useful if you want to have a better look at the maps!
Get More Dice
This one’s pretty straightforward. You want to conduct more actions, so you need more dice. The Free Peoples start with four and can up that to six, the Shadow surges from seven in the beginning to ten in the end. That’s (about) a 50% increase each! So, you need to get your bonus characters into play. (These also have other advantages, but providing additional dice is their most useful trait.) If you’re playing the game for the first time, that’s all you need to know. However, if you’ve played a couple of games and want to max out your potential, I encourage you to read the following in-depth guide to more dice:

For the Shadow, it’s pretty simple, as all you need to do is spend Muster dice at the right time:
- Saruman: All you need is to have Isengard At War (one Muster die) and then spend another Muster die to recruit Saruman. You should normally be able to do that on your first turn already. Then, all you need to do is keep a garrison with him so that he’s not ambushed by Rohirrim or Ents.
- The Witch-King: Also easy. As you need at least one Free Peoples nation At War for him, he also gives you an incentive to attack early (which you should do anyway). March for your first target (more on that below) and you should be ready to recruit the Witch-King on turn 2 or 3.
- The Mouth of Sauron: Here the main challenge is that you might forget about the Mouth of Sauron with everything else going on. So, reminder: Once the Ringbearers are in Mordor, you can recruit him!
The Free Peoples don’t have it quite as easy for two reasons: First, they need to fulfill more specific conditions to upgrade their characters: Strider needs to be in Gondor to become Aragorn. Gandalf needs to be away from the Fellowship (or dead). Second, while the Shadow can spend a basic Muster die to recruit their minions, the Free Peoples need the elusive Will of the West… and with the four starting dice, the chance of rolling at least one Will of the West is just 52%. It’s entirely possible that you might spend a few rounds without any Will of the West die results. So you need to make sure to use those that you roll!
- Gandalf the White: Gandalf’s precondition of a Minion already being in play is usually taken care of by the Shadow recruiting Saruman early. (If they Shadow doesn’t, it hurts them more than you.) So, you only need to split Gandalf off the group (a waste of resources) or have him die (an excellent opportunity to sacrifice him for the greater good). If I roll a Will of the West in the first turn and cannot crown Aragorn (see below), I’ll make Gandalf the guide, move boldly with the Fellowship, and sacrifice Gandalf whenever the Fellowship gets in trouble.
- Aragorn: Revealing Strider’s royal lineage is a little tougher. But with the right dice, you can manage it in the first round! All you need is one Will of the West (duh) and the ability to move characters on the other three dice (so, either a Character or a Will of the West die result). As you can turn one die to another face with an Elven Ring, that’s not as hard as it sounds – in fact, your chance for such a result is 26% (or, exactly half the chance of rolling a Will of the West in the first place). Here’s how it works (see image below): You spend your first three dice moving Strider (and any Companions you want to send along with him – for example, I like to send either Merry or Pippin and sometimes Legolas or Gimli as well). By way of Moria and Eastemnet you reach Minas Tirith with your third move. Then, you spend the Will of the West to crown Aragorn.

Bonus tip: As your bonus characters are so crucial for providing these additional dice, make sure to protect them. As the Free Peoples are more likely to lose battles (and thus characters), Aragorn and Gandalf the White are often best placed away from armies, particularly armies that can be bottled up in a siege.
Eyes on the Prize
Okay, that sounds generic. But hear me out: It’s easy to get sidetracked with all the things you can do in War of the Ring. In the end, victory is only decided on meeting a single victory threshold – typically, either the Free Peoples destroy the Ring or the Shadow conquers strongholds and cities worth ten points. (Of course, there are the other victory conditions of the Ringbearer falling to corruption or the Free Peoples conquering Shadow strongholds, but the former is something that the Shadow can’t force directly whereas the latter mostly exists to keep the Shadow honest.) With skilled players, a game of War of the Ring turns into a race between the Ringbearers and the Shadow’s conquering armies… with each player trying to throw a wrench into the other’s wheels.
Once more, the Shadow has a pretty straightforward time: Just focus on conquering Free Peoples strongholds and cities. Or, to phrase it more negatively, here are things you don’t want to do all that much:
- Playing – let alone drawing – events. The Event die result is the one least useful for the Shadow. For that reason, you should almost never play events with non-event dice – because all of them are better used for other things. In any case, you should be flush in event cards anyway, so drawing them is only your last resort if there’s really nothing better to do with an event die.
- Recruiting. Your early Muster dice are crucial to get Mordor, Isengard, and the Southrons and Easterlings into the war, and to recruit your Minions (see above). After that, their usefulness drops massively. Recruiting Nazgûl, Isengard forces (if you plan to attack with them), and, once those are all on the board, an Elite here or there is your best choice. But by then you should have conquered most of what you need already. The army you need for your conquests is already on the board at setup!
- Assigning more dice to the Hunt. You’ll roll some Hunt results anyway, and if you have too many, the Fellowship will just sit out their round and let the Free Peoples do other things. Exception: When the Fellowship is in Mordor, you want to assign as many dice to the Hunt as you can… but likely the Fellowship will have dwindled by then to one Companion (or none at all).
So, how do you conquer? Hit early (as said, you’ve got all you need for your conquests at the beginning already), hit hard (go straight for the strongholds so that the Free Peoples cannot muster stronger armies there), mop up resistance (take the other recruiting sites) and then move on.
The most important thing to keep an eye on is how to get to ten points. Overall, there are Free strongholds and cities worth 20 points, so only need to conquer half of those. They fall into four groupings:
- Gondor: 5 VP (Minas Tirith, Pelargir, Dol Amroth). It’s right next to Mordor and conquering it often comes with the bonus of preventing an Aragorn coronation (or locking up Aragorn in a siege and then killing him when you take the stronghold).
- The North: 5 VP (Erebor, Dale, Woodland Realm): Not as far away as it looks. If you march the main Mordor army north instead of west, you get to the Woodland Realm on turn 2 or 3. As all three VP sites belong to different nations, the Free Peoples have a hard time putting up a coordinated defense.
- The Center: 5 VP (Helm’s Deep, Edoras, Lórien): I haven’t played this very often, but Rohan can make a good early target, particularly if you have some Isengard recruitment events. Moving on to Lórien is not a must, but as Lórien is so centrally located it’s often a good last stronghold to take to complete your 10 VP, no matter what you’ve conquered before – a Shadow army marches almost as fast from Gondor or from the Northwest to Lórien as it does from Rohan.
- The Northwest: 5 VP (Rivendell, The Shire, Grey Havens): Not a prime choice. The VP locations are scattered, and the Shadow does not have a lot of units there. The only reason I’d go northwest would be at the end of a game if the Free Peoples had buffed most of the juicier conquest options with additional defenders and if I had a recruitment event for the northwest. And even then, this is much better used to snatch one VP location than to run an actual sweeping campaign.

Now for the Free Peoples! You want to get the Ringbearers to Mordor where they dunk the Ring into the fires of Mount Doom. That means that moving the Fellowship is your most important task. As a rule of thumb, before the Fellowship is in Mordor, I try to move it once per turn if the Shadow has three or more Hunt dice, twice at two Hunt dice, and three times at one Hunt die (if it ever happens that there are no Hunt dice at all, try to go as far as you can). Like that, you should be able to reach Mordor roughly by turn 6.
The importance of moving the Fellowship means that you should spend most of your “jokers” on that: Will of the West die results which you don’t need for getting your bonus characters should almost always be spent for moving/hiding the fellowship, as should your Elven Rings (these, of course, only in situations when you want to move more (see the rule of thumb above) but are out of character dice).

Moving the fellowship comes at the price of Corruption. I find that the best use of your Companions is to keep them with the Fellowship and have them soak up the Corruption that you will inevitably incur. Like that you can keep the Corruption going to the Ringbearer to a maximum of three when entering Mordor. If you have more than one companion left before reaching Mordor (which is likely), split them off, so that the Shadow cannot assign more than one Hunt die in Mordor (as Eye Hunt Tile results will give you as many points of Corruption as there are dice in the Hunt Box in Mordor, which can be absolutely deadly).
If you consequently pursue your winning condition as described above, you should be able to have victory in your grasp after about ten turns! Not a lot of time for your opponent to reach theirs…
(Of course, if both of you go for such a sprint, it’s anyone’s game again – but this is a beginner/intermediate player guide. And these players are much more likely to do too much for stopping their opponents than too much to advance their own goals.)
Use Your Cards
Just a little final tip, and once more, it sounds generic. But I’ve seen so many players hold on to their event cards to play them at the perfect moment just to be forced to discard at the end of the round in early turns and later thinking “I should have spent more cards in combat”.
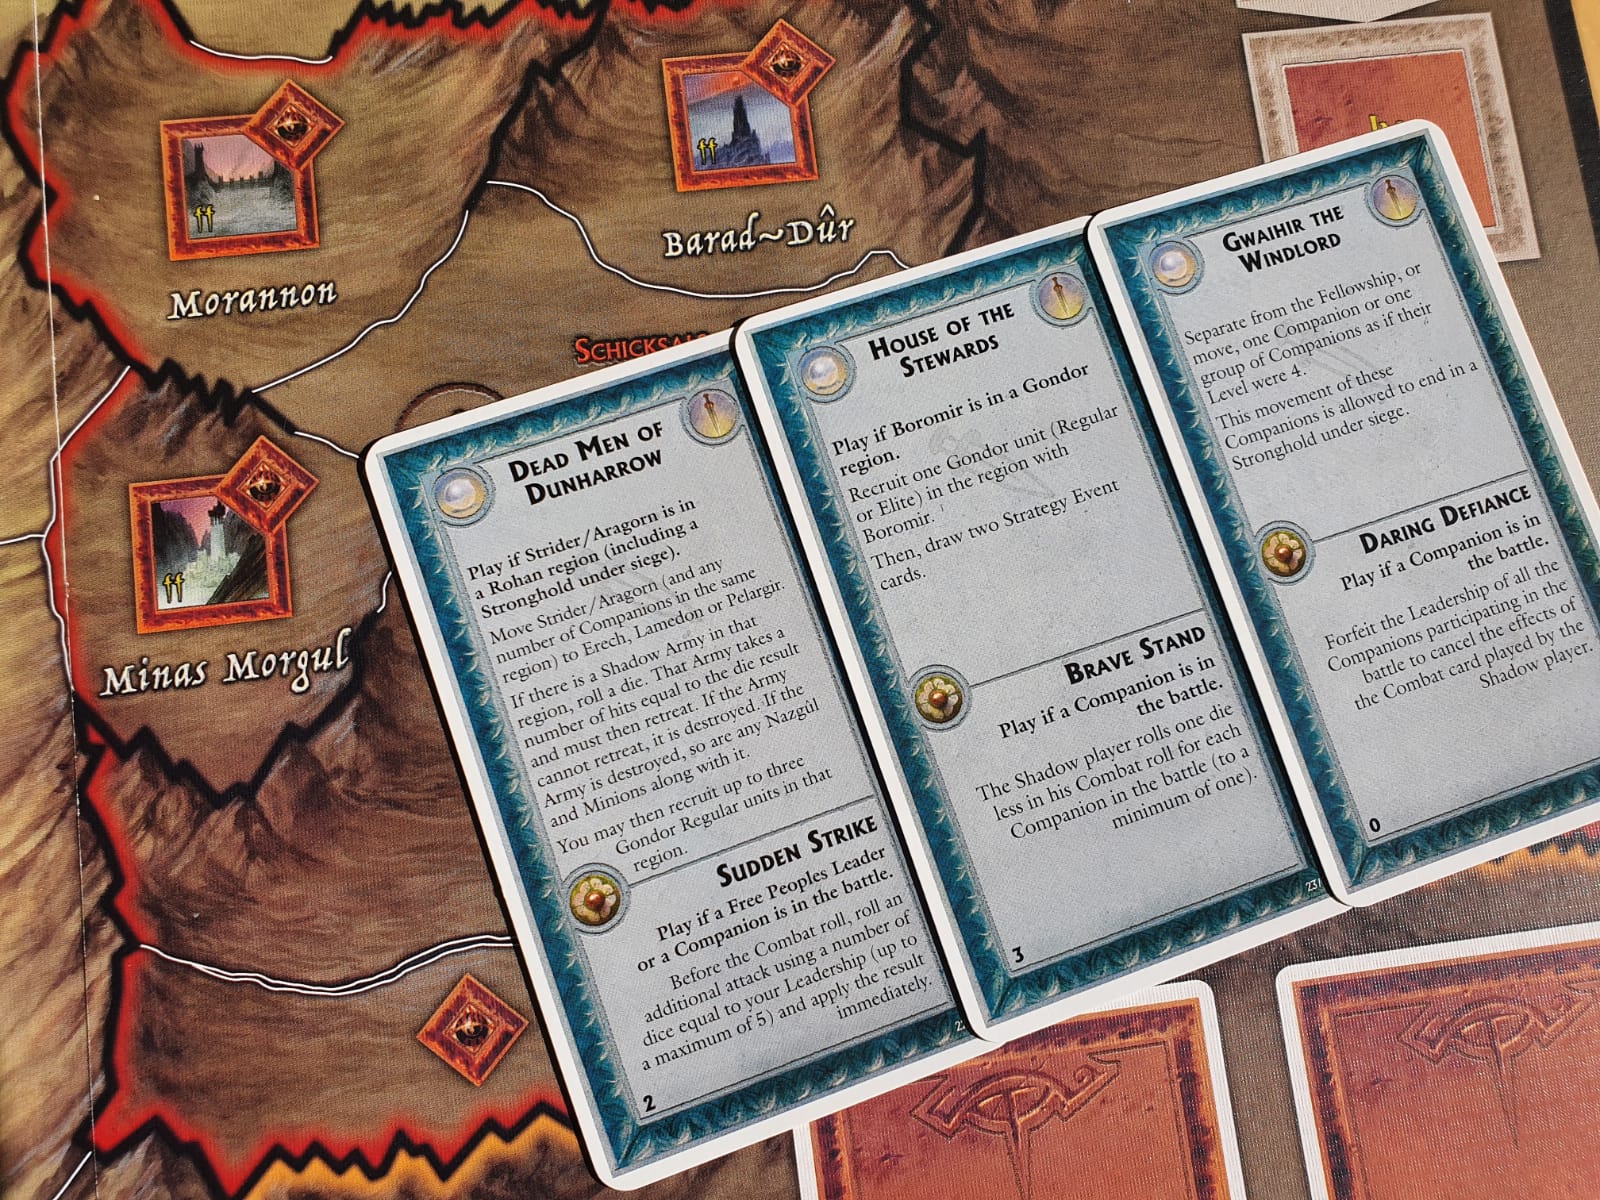
The antidote is: Use those cards! The best cards to play with event dice are the bonus Hunt Tiles which can make or break a Ringbearer’s run. Everything else can be played either for the event or in combat – even if the combat bonus is small, it’s better than discarding, and discarding is likely to happen at some point. So, spend away!
That’s all from me! Which strategies do you use to win at The War of the Ring? Let me know in the comments!
And if you want more articles of this style, here are the previous Three Basic Tips for…

My buddy has the game and we are still planning to play it. Hopefully during long, autumns evenings! PS. Fantastic arrows 🙂
LikeLiked by 1 person
I’m sure you’ll enjoy the game!
If you play it, I’m hoping for an arrow-heavy AAR 🙂
LikeLiked by 1 person
Fantastic post! I love that it’s great both for beginners and for people who need a refresher. Great graphics too.
LikeLiked by 1 person
Thanks! Particularly as it’s coming from my toughest opponent at War of the Ring 😀
LikeLike
Pingback: Farewell 2022 – The Best on the Blog! | Clio's Board Games
Pingback: How to Win as the Protestants in Here I Stand (Three Basic Tips, #10) | Clio's Board Games